
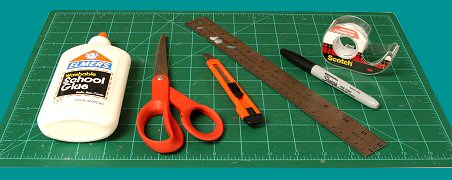
Shown above are the tools used most often for RavensBlight toy projects.
They include: Elmers glue, scissors, a cheap plastic utility knife (when an
'X-acto knife' is called for, a small utility knife will work great), a ruler
(metal with a cork backing works best), a black marker, Scotch tape, and
a cutting board (available at hobby shops, usually not very expensive).
Some projects only need a few of the above tools, while others require a few
additional items (such as toothpicks, cardboard, or other common household items).
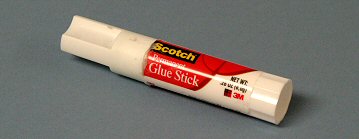
I've found glue sticks, like the one shown above, to be VERY helpful. They're
much less messy than a bottle of glue, and they also speed the assembly up a bit.
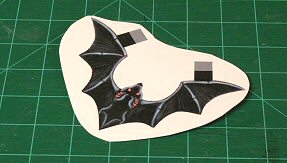
When cutting out parts, especially those with complex shapes, it's often handy to
just cut around the general area first. This is called a 'bubble cut'.
Folding can be done much more accurately if you 'score' the fold line before folding.
You can use an old ink pen, a knitting needle, the end of a paper clip, or any metal
object that will crease the paper without tearing it.
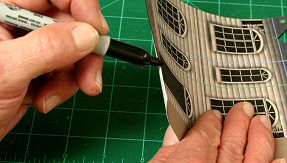
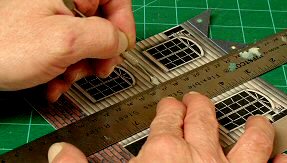
To make your project look nicer, you can use a marker to darken the edges of
the parts. Lay the tip of the marker sideways on the edge, as shown above,
and then slide the marker slowly and carefully along the edge.
ADDITIONAL TIPS:
Always take your time when building a paper toy. Enjoy the project, never rush it!
These toys won't take long to build, but working slowly and carefully is important.
And a quick word about using the scissors and utility knife:
They are SHARP! They can HURT YOU! So always be careful.
Open bleeding lacerations = BAD!
Happy little monster kids with new toys = GOOD!
(If the toy files won't open, you may need the free 'Adobe Reader' available here.)